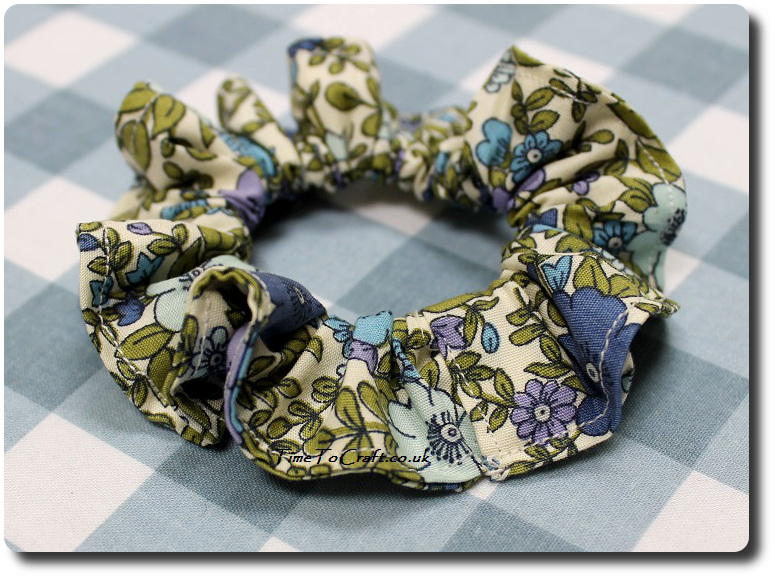
 Over the weekend, I bought a pack of silicone hairbands. Little did I realise that by the end of the weekend, I’d find myself sitting in front of my sewing machine, working out how to cover a hair band with fabric, rather than throwing the bands away.
My two daughters have a lot of hair, which is proving challenging to tie up comfortably for PE lessons. Most hairbands are not up to it, so I thought the silicone ones might be stronger. Unfortunately they were rejected. The grip felt like it would damage the hair.
So I was left with a pack of hairbands and no hair tying solution.
What to do?
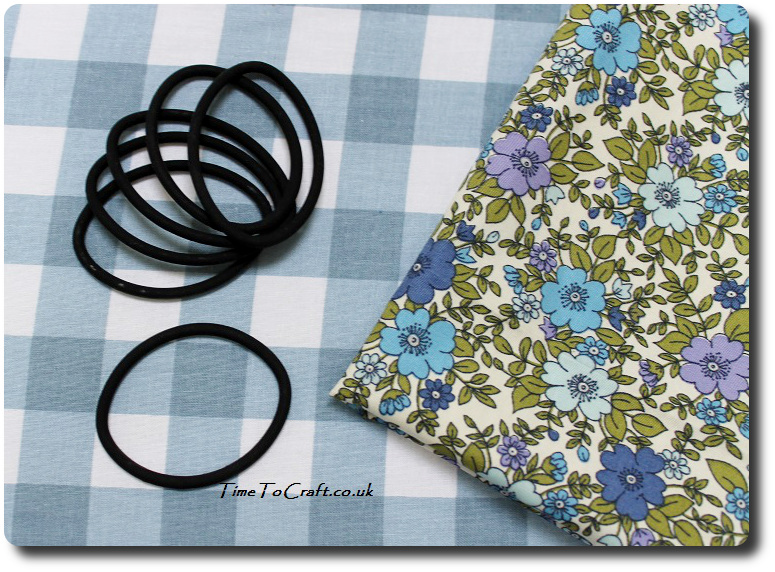
Middle Daughter is off at camp this week. During the run-up to her leaving, she requested scrunchies, using fabric from my scrap collection. A homemade goodie to take with her. So I did. I made it using ordinary elastic and the stretch wasn’t great, but she took it anyway.
Today, I decided to use the silicone bands. They feel stronger and have less give than the ordinary elastic. I didn’t want to cut them, as that would create a weakness. Instead I covered the band as a ring.
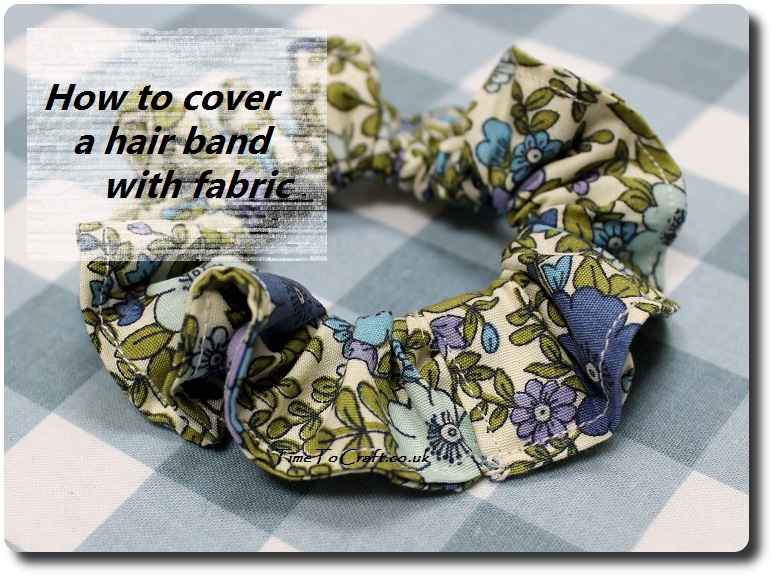
How to cover a hair band with fabric
- Cut out a piece of fabric. I used the measurements 27cm by 9cm as I didn’t want it too full. I used fairly stiff fabric from my quilting stash.
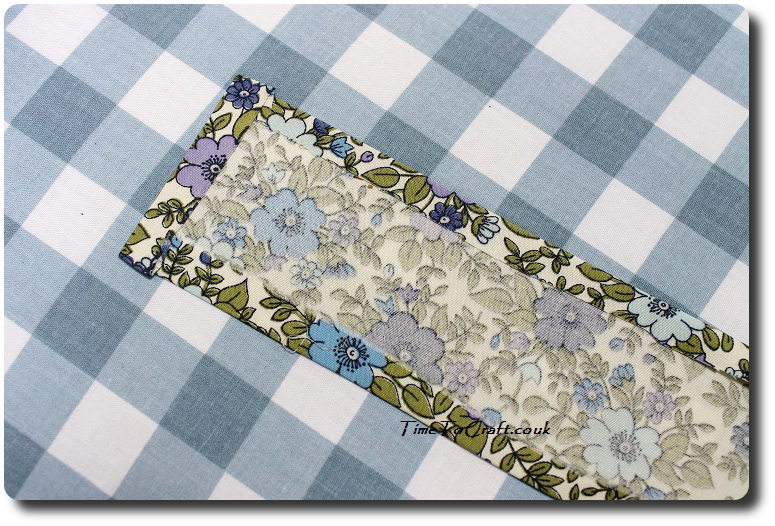 2. Turn all the edges under by just less than 1cm and iron them flat.
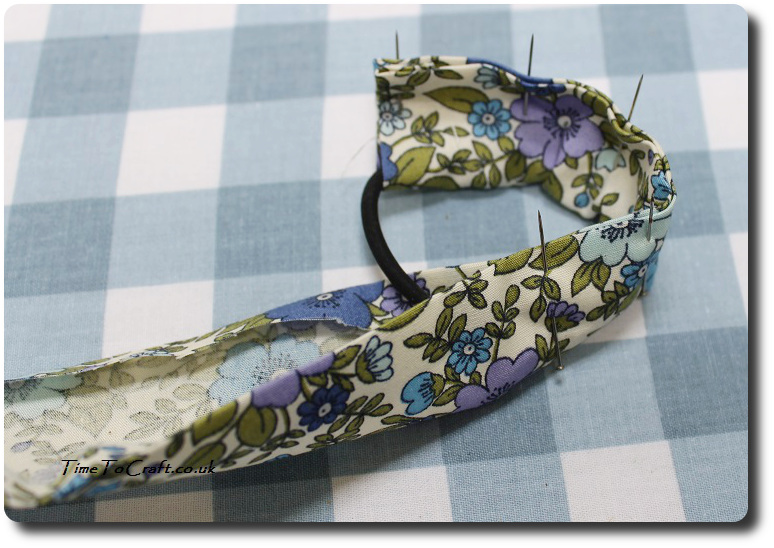 3. Start to wrap the fabric around the band, placing the band inside the fold of the fabric. Line up the long edges and pin in place.
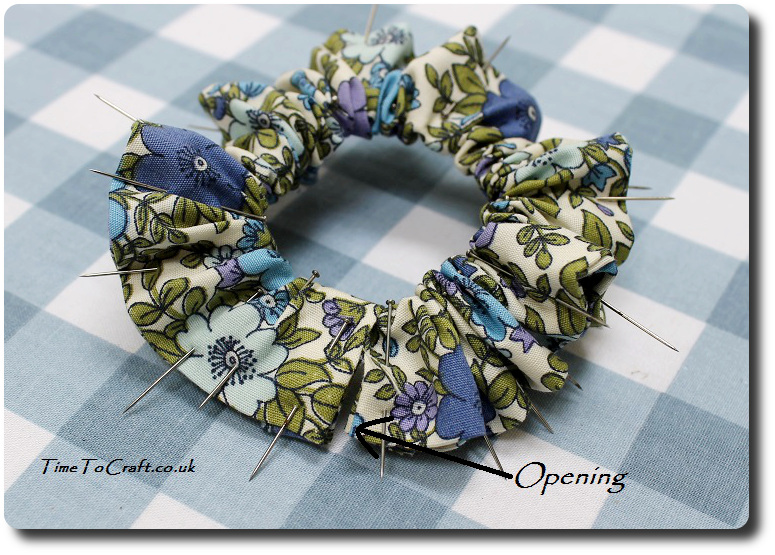 4. Continue until all the fabric is around the band. At this point, you can tack around the edge to keep it in place, which makes it easier when sewing.
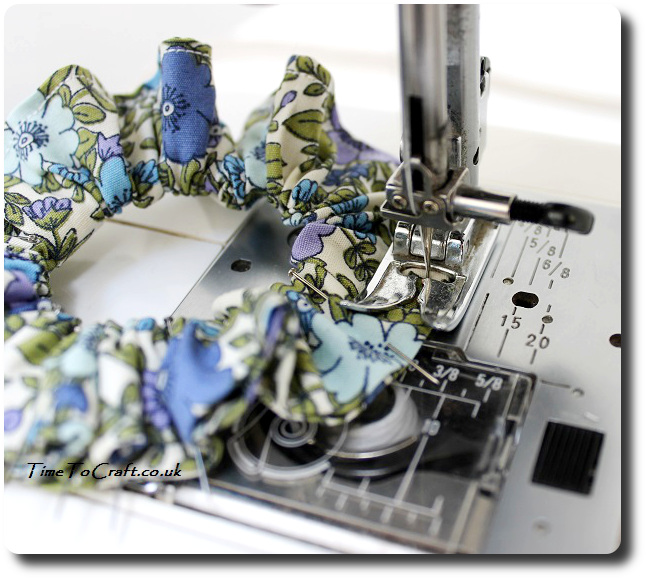 5. Either machine or hand sew the edges together, 0.5 cm from edge, starting from the opening.
 6. At the opening, push one end into the other, and sew together.
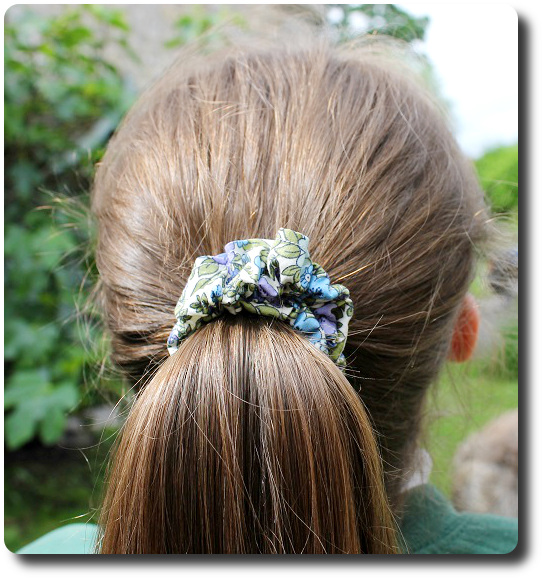 Then the hairband is ready to work it’s magic. The silicone band still provides the strength to hold the ponytail up, but the fabric protects the hair.
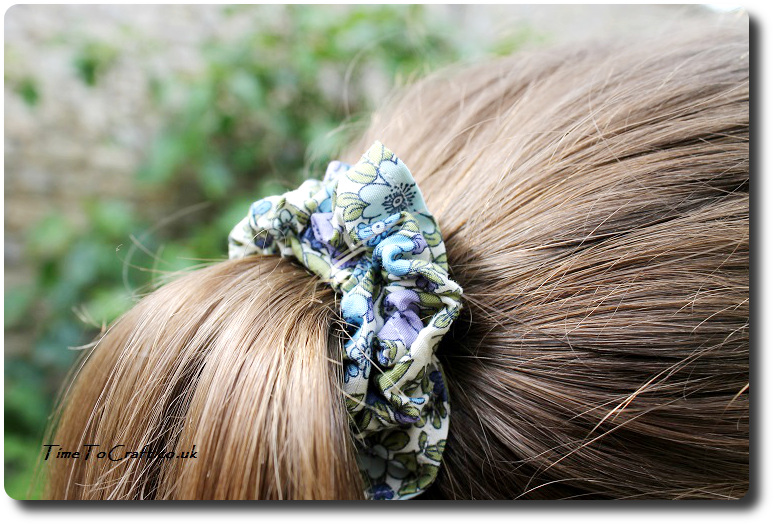
A practical and pretty hairband, ready for daughter to return. It was quick to make. Would make a good fundraising idea. I think I’ll sew up a few more. Especially as I have a whole pack of silicone bands to use up and use up more fabric scraps. I’m glad I found a solution, rather than just throwing them away.
Linking up with Fiona’s Trash 2 Treasure linky
Part of my “A greener me in 100 steps” project. Finding a new use for an item that didn’t live up to expectations.


That’s a great idea! Hair bands are a nightmare aren’t they, we are always loosing them here there must be a huge pile of them somewhere having a party with all the odd socks and teaspoons!
I really don’t know where they go. My theory is the dust bunnies run off with them. They probably have the socks as well. Not sure about the teaspoons. Not convinced that they’d have much use for them. It will certainly make an interesting layer for future archaeologists.
A great way to make use of hairbands that didn’t come up to scratch. I made similar hair accessories for my daughter when she was younger, using elastic on the inside. Down in Australia we call these scrunchies. I’d love you to add your fab tutorial to our Ongoing Hair Accessories link party…
http://www.threadingmyway.com/2012/01/threading-your-way-hair-accessories.html
We call them scrunchies too. So easy to make and wear. I’ve made the elastic versions, but I’m won over to making them with hair bands now. Gives the strength. Either way, I love the pretty fabric that can be used.
What a brilliant idea and one I think I could manage to sew myself. I don’t like the way bands damage hair, I can’t believe I hadn’t thought to cover them. This looks so effective I must give it a go.
A perfect #Trash2Treasure. Thank you for linking up.
Thanks, Fiona. These are so straightforward to make and easier on the hair, I think. Harder to lose too.
Ha! I only heard the other day that scrunchies are making a comeback. Nice one.
I think they’ve been sneaking back for a while. Not quite so big this time round, maybe, but still a fab hair accessory. (Still waiting for the creased fabric from the 80s to make a come back)