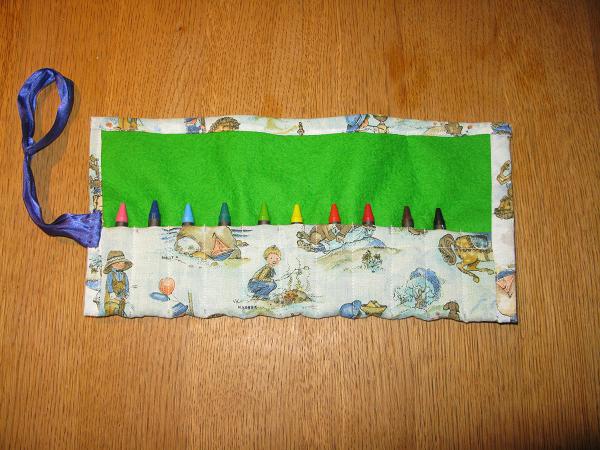
I’m sharing my easy way to make a crayon roll. I have tried many variations of this design and found that this is easy and a perfect solution even as a last minute present. Some sewing knowledge is assumed, but it’s not a complicated project.
Gather your materials
I use 12″ by 8″ 100% wool felt as the inner liner (green in the photos). It is slightly thicker, but gives the best results as it does not fray, is fairly stiff and helps to ensure the roll stays the right shape and size. Fleece works well, but it is not as stiff. I tend to pick a cotton fabric from my stash (blue with boys on it, in the photos), which I cut 1″ bigger all around ie 14″ by 10″. I’ve used a ribbon and button for this roll as it is a good choice for the young recipient, but I have also used poppers and velcro, in the past, which also work well.
How to make your crayon roll
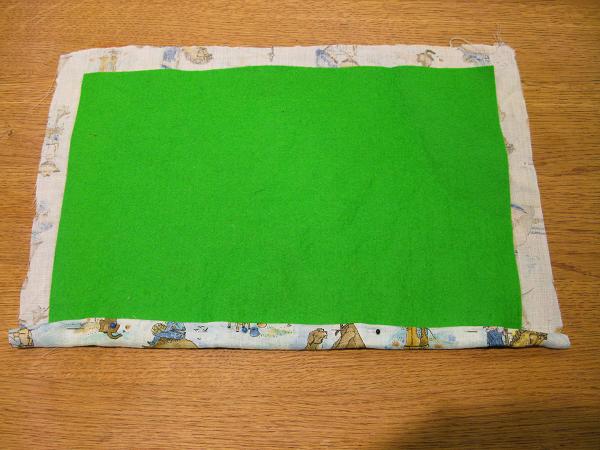
Step 1. Lay the cotton fabric face down and place the felt on top, in the middle. Turn the bottom edge of cotton over twice to hide the raw edge. The bottom of the felt should be sandwiched in on the last turn up. Pin or baste in place. (NB, it is worth checking, at this point, that any pattern on the cotton fabric will be the right way up, when the roll is unrolled by its new owner. Otherwise cats end up standing on their heads, I have found)
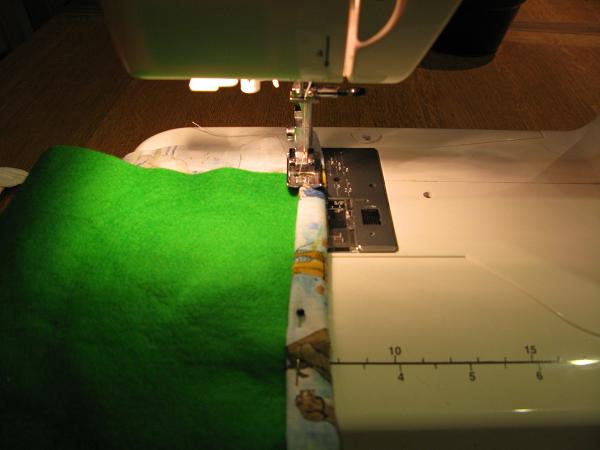
Step 2: Machine sew the fold, as close to the first fold as possible.
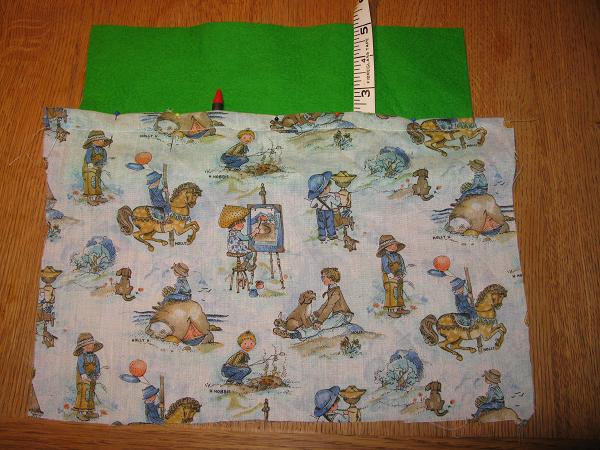
Step 3: Lay the felt piece on the table, with the cotton fabric below and right side up, as seen in the photo. Draw up the cotton fabric to create a pocket the right size for the crayon. My crayons are 2 5/8″, so I made a pocket 2 3/8″ deep, so that the crayons will poke over the top of the pockets. Pin in place.
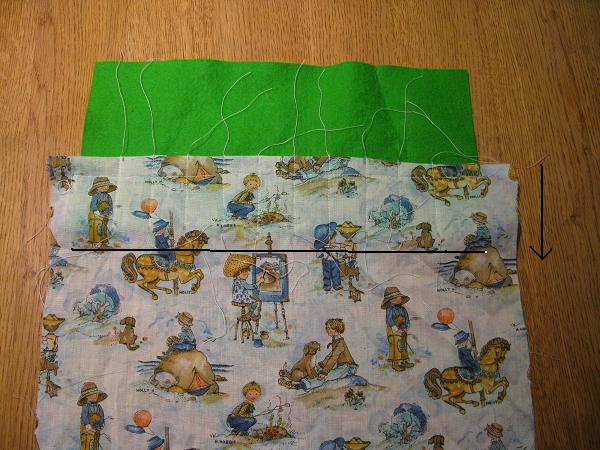
Step 4: Mark out dividing lines between each crayon pocket. I allow 1″ width for the pockets and 1 1/4″ for the first and last pockets. Machine from the top of the pocket to the bottom of the felt, as shown by the downward arrow. The black horizontal line on the photo is to show you where the felt ends. I do a little backwards and forwards at the top of the pockets as these take a lot more wear. Pull the ends through to the back and tie off.
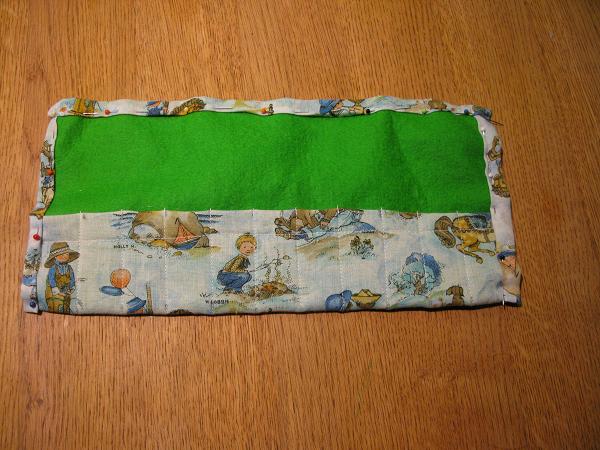
Step 5: Fold the cotton fabric underneath the felt, so that the wrong side is hidden. Double fold over the edges on the three sides. Pin or baste. Machine sew around the edges, as close to the first folded edge. I do not machine stitch to the edge of the corners as I hand sew these afterwards, so that my stitching is almost invisible.

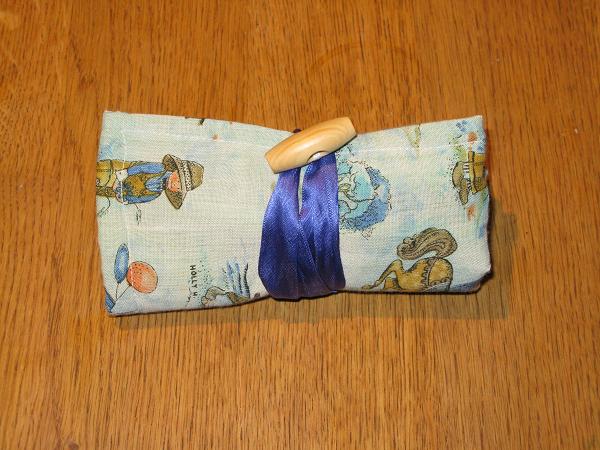
Step 6: On one side, half way up, sew a ribbon on the inside and a button on the outside. I formed a loop at the other end of the ribbon, to hook around the button.
Finish up
Add the crayons. Roll the crayon roll up. Wrap the ribbon around and loop around the button. Crayon roll is ready.
I hope the steps make sense to you. If not, let me know.
I made this pencil / crayon roll for my son, who made no fuss on Saturday, when I told him that the crayon roll I had just made was for his friend’s birthday and not him. He was really pleased to hand it to her at the party. I know he will love this roll and I am proud of him.


Ok this is my sewing level! (I hope) lovely clear instructions… off to try this afternoon..right now I’d better go make breakfasts and lunches and walk some girls to school. Many Thanks!
Hi Val
I’m glad you like the tutorial. Please let me know how you get on. I’d love to see the results.
I know my daily routine means I get everything done when I should, but, man, I would love to get on making things as soon as I have the idea. Hope you found some time this afternoon.
Thanks for leaving a comment.
Cheryl