
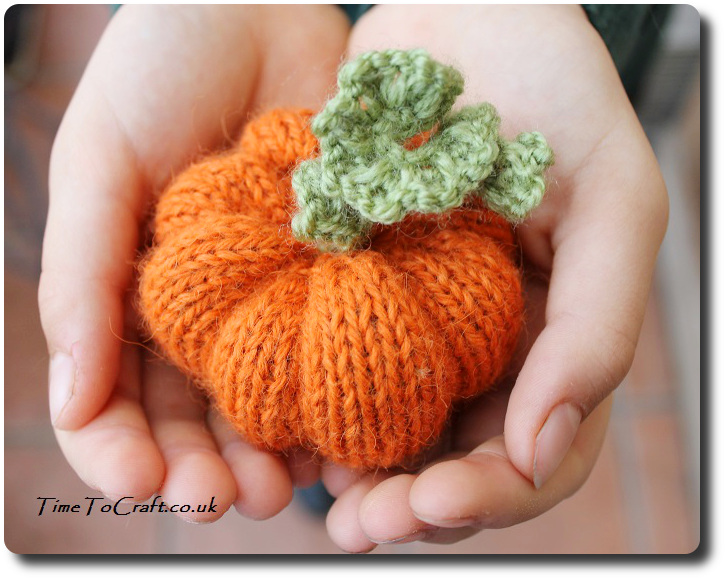
Who’d like to knit a pumpkin? Perfect for adding a smidgeon of fun to your home or for gifting. They are easy peasy. I’ve knitted a fair few pumpkins in my time. Some I’ve given away. Others hang above our mantlepiece in October. They are cheerful and never fail to make me smile. A bit of fun to mix in with real pumpkins, with Halloween just round the corner.
Fortunately, they are incredibly quick and easy to knit. Once you know how to cast on/off (bind off), and can knit and purl, then knitting a pumpkin is a perfect beginner’s project. My children knitted a set when they were around seven. The green tendril uses an increase method, but it really isn’t difficult to do.
Let’s get started
You will need:
a ball of dk orange yarn (25g should be more than enough)
a small amount of green yarn (in the region of a couple of metres)
4mm knitting needles
a darning needle or long needle with a big eye
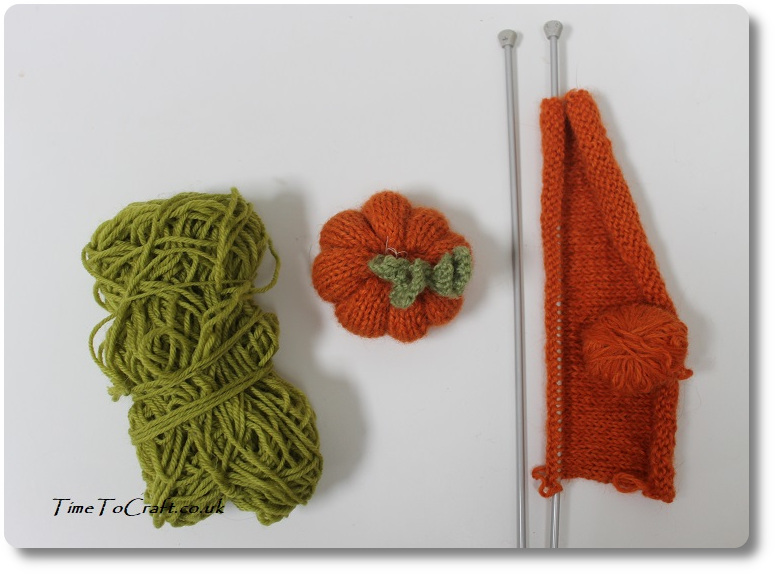
(Note: I’m using recycled yarn, so it is a bit crinkly compared to new yarn.)
Knitting instructions
Step 1. Cast on 50 stitches in orange yarn.
Step 2: Knit 25 rows of alternating knit and purl rows, known as stocking stitch. You now have a rectangle of orange knitting.
Step 3: Cut the yarn, so you have a 10 inch length of yarn still attached to your knitting.
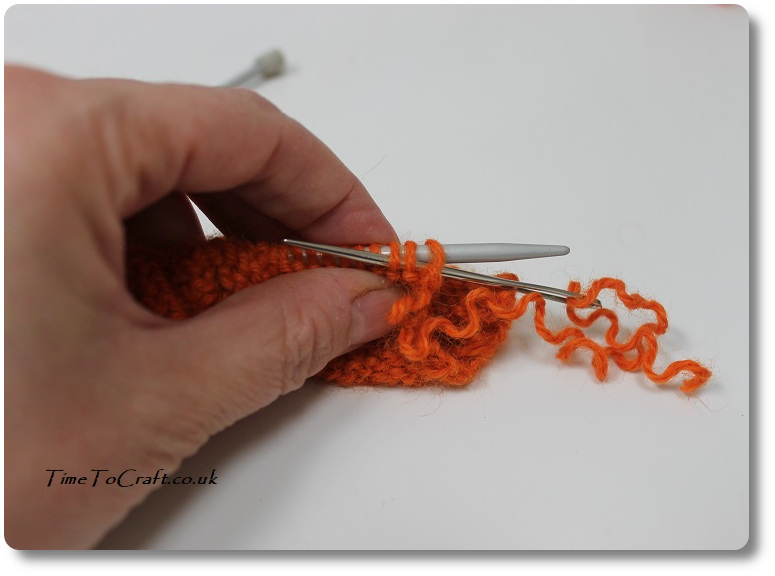
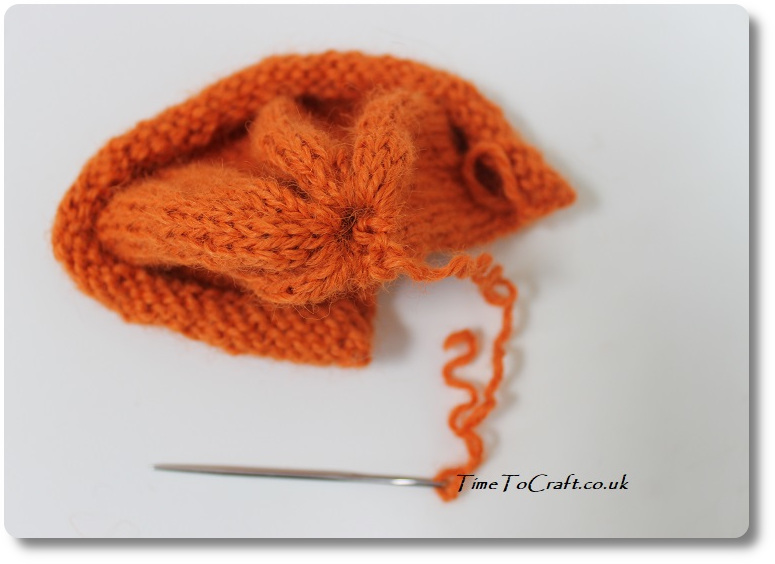
Step 4. Using a darning needle, or any long, sewing needle with a big eye, thread the length of yarn through the stitches on the needle. Make sure you catch every stitch, by going through the each loop. As you go through each knitted stitch, remove it from the knitting needle. You should be left with the yarn pulled through all the stitches.
Assembling
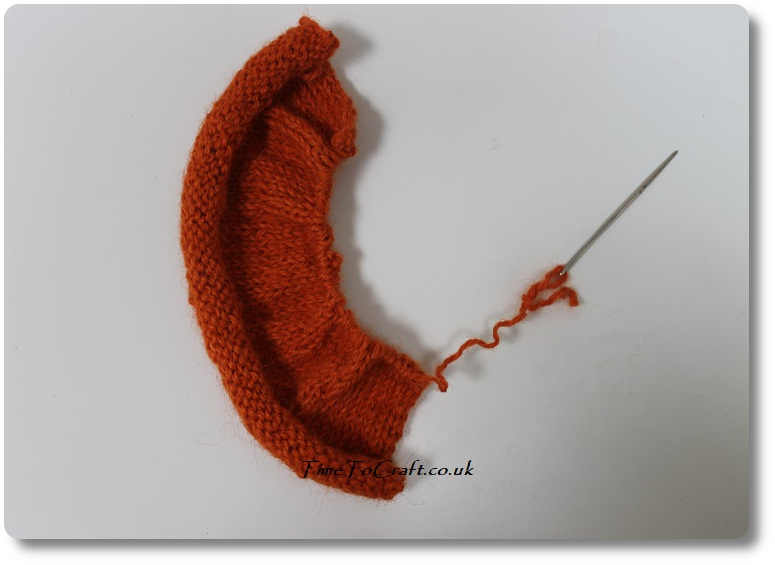
Step 5: Gather the top of the pumpkin, by pulling the yarn. A couple of sewing stitches, sewn on the spot, will hold it gathered together.
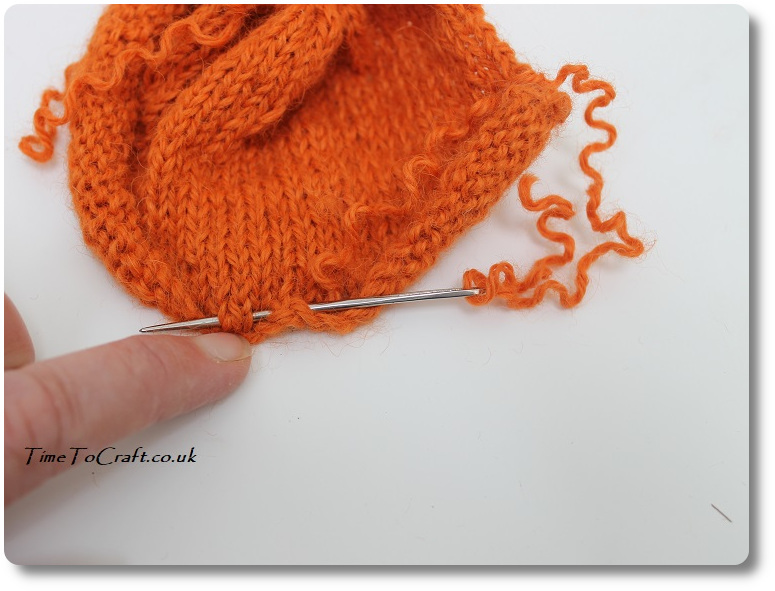
Step 6: Attach a length of yarn to the corner of the other long edge. Sew a line of running stitches along, and as close to, the long edge. Pull to gather that side. A couple of on the spot stitches, will hold it gathered.
Step 7: Use toy stuffing to fill the pumpkin.
Step 8: Sew the open short sides together. You now have a ball shape.

Step 9: Thread your sewing needle with an arm’s length of orange yarn and attach to the centre of the top of the pumpkin, with a couple of stitches on the spot.
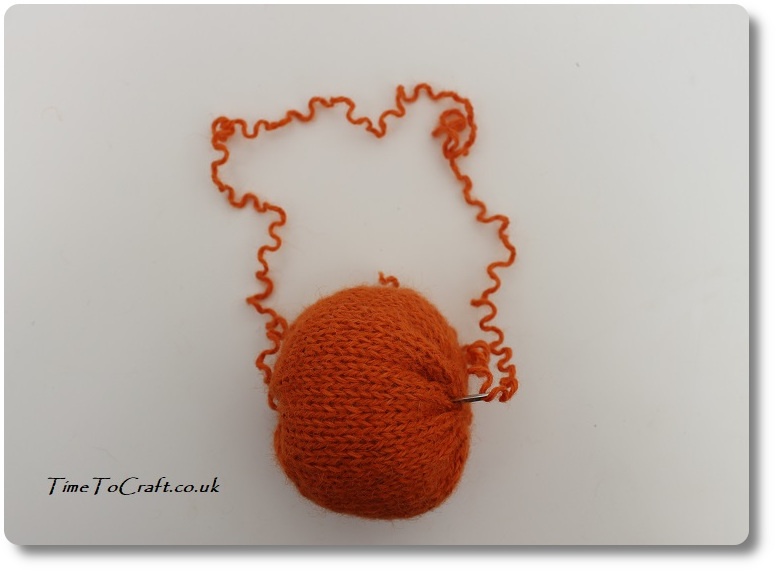
Step 10: put the needle through the centre of the opposite side of the pumpkin and push all the way through the pumpkin to your starting point. Tightly pull the yarn.
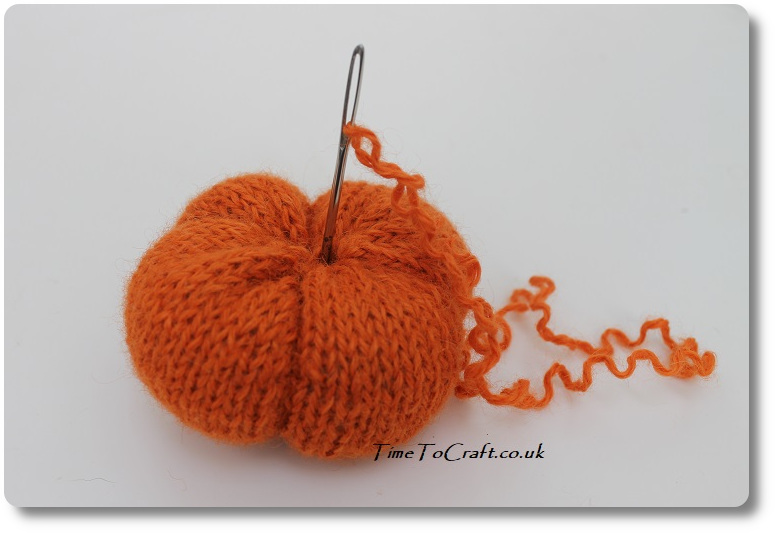
Step 12: Repeat again seven times, evening the strands out around the pumpkin, until you have eight well defined segments. I like to quarter the pumpkin first (above photo) and then split each section in two to make the eight(below photo). Fasten off, with a couple of stitches on the spot.
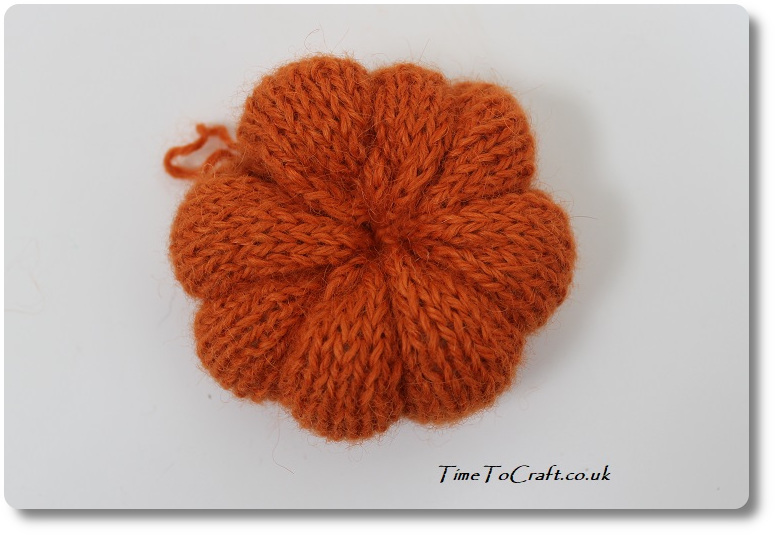
The pumpkin is finished. Now on to the tendril.
How to make the pumpkin tendril
Step 13: Cast on 20 stitches in green
Step 14: Next row. Knit into the first stitch, but do not pull the stitch off the needle, as you normally would.
Step 15: Knit into the same stitch again, but this time into the back of the stitch. Do not pull the stitch off the needle.
Step 16:Knit into the same stitch again, but this time into the front again. Pull the stitch off the needle. Your stitch is now three stitches.
Step 17: Repeat for the other 19 stitches left on the needle. You will have 60 stitches, scrunched up on your knitting needle.
Step 18: Cast off all 60 stitches.
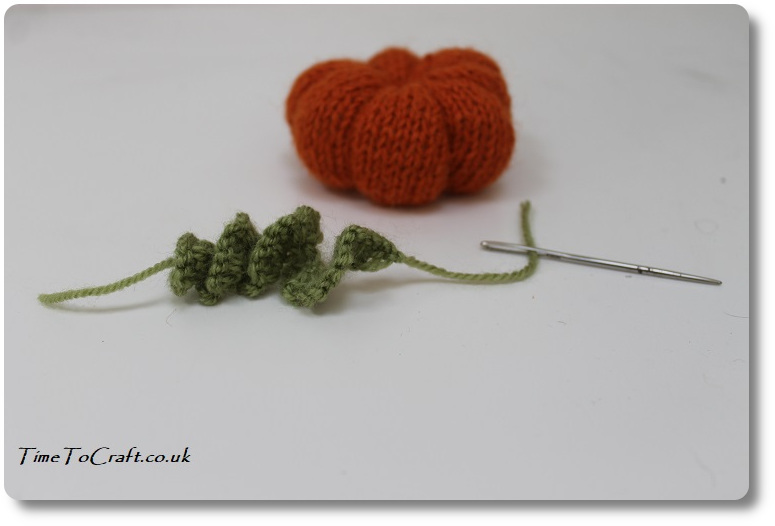
Step 19: Sew the tendril on to the top of the pumpkin and lose the other loose thread into the tendril.
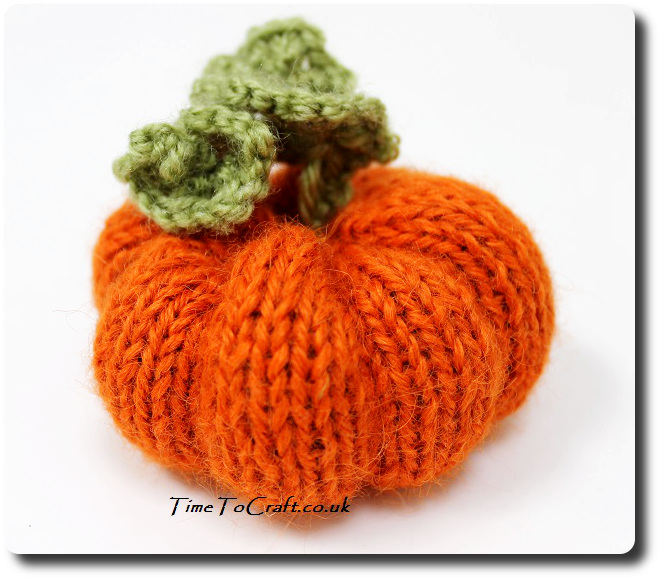
Pumpkin and tendril are now complete.
You can vary the colour and weight of the yarn. Forget stocking stitch and do it in garter. Add more stitches and rows to knit a massive pumpkin. Or less if you want a tiny pumpkin. I’d keep to the ratio of double the number of stitches to the number of rows, but really the world is your pumpkin patch.
I hope you have a go at making one, I’d love to see the finished pumpkin. You can tag me on Instagram. Any questions, just let me know. Why not knit an acorn or two to go with it.
How sweet! The perfect half term activity for my oldest! #MMBC
I hope she gets on well with it. Although you may end up with a house full of them. 😀
Aww! That is so cute and a great activity for this time of year x
They are fun to have around the house too.
This is so adorable and looks just like my level of knitting – thank you for sharing :o)
I love your blog’s new look!
#MMBC
It is an easy peasy project. Very forgiving with mistakes. Hope you make one.
Just popping over to my happy place for a read.
I love your little pumpkin, how adorable! Knitting is one thing I have never given a go. I’ve always thought it was quite tricky to do. See! You have inspired me again. I can feel another craft order coming on.
Have a lovely weekend with your gang. x
Now this is a comment for sore eyes. Thank you. Hellava work day yesterday, but your comment made me smile. Hope you give a pumpkin, or two, a go. Basically just a rectangle of knitting. Like a scarf, but less time consuming.