
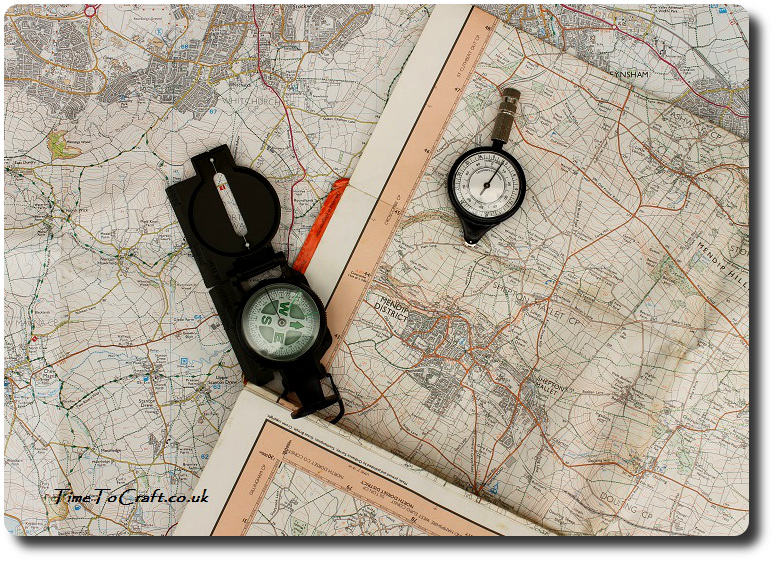
 I love maps. I love opening them out on the table like a cloth. Leaning forward and scanning every inch in detail. I can quite easily lose time pouring over a map. Following the map contour lines and reading the names and studying the lay of the land, for instance. Each name teasingly hints at long forgotten stories. The most tantalizing ones duly noted to be explored on foot one day.
You need to be able to read a map to fully appreciate it. The key to the symbols is found at the side, but to bring the map to life, you need to be able to turn the flat 2d representation into a 3d version in your mind. It takes practise.
Why map contour lines?
The other day we were pouring over a map. The Teen was off on an expedition. Seeing as she had a heavy pack to carry, we were paying close attention to the contour lines.
Youngest joined in. What were contour lines? I explained that the closer the lines were the steeper the land would be. The further apart, then the flatter the land.
Then he gave me that “Ah” that I’ve heard so many times before. The one that means he kind of understands, but he doesn’t. It’s the same “Ah” that sent me off, a few years back, baking castle cookies to explain erosion and why castles become ruins.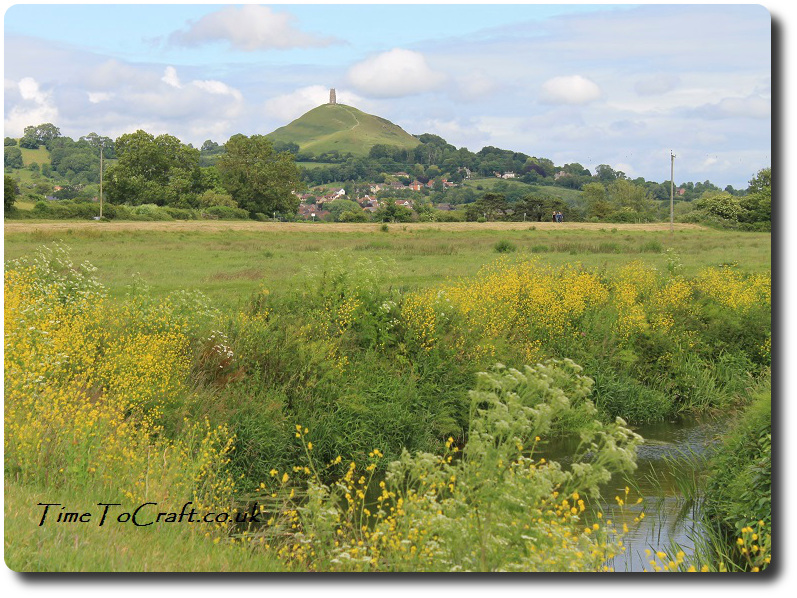
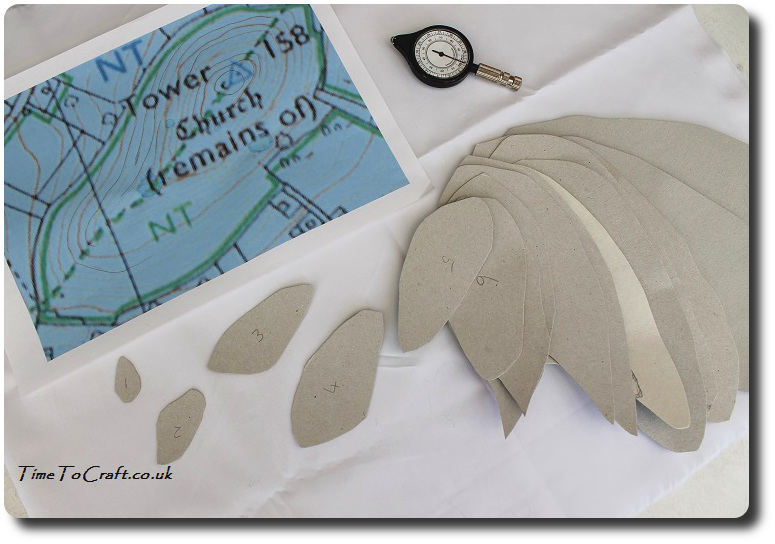
How to craft map contour lines
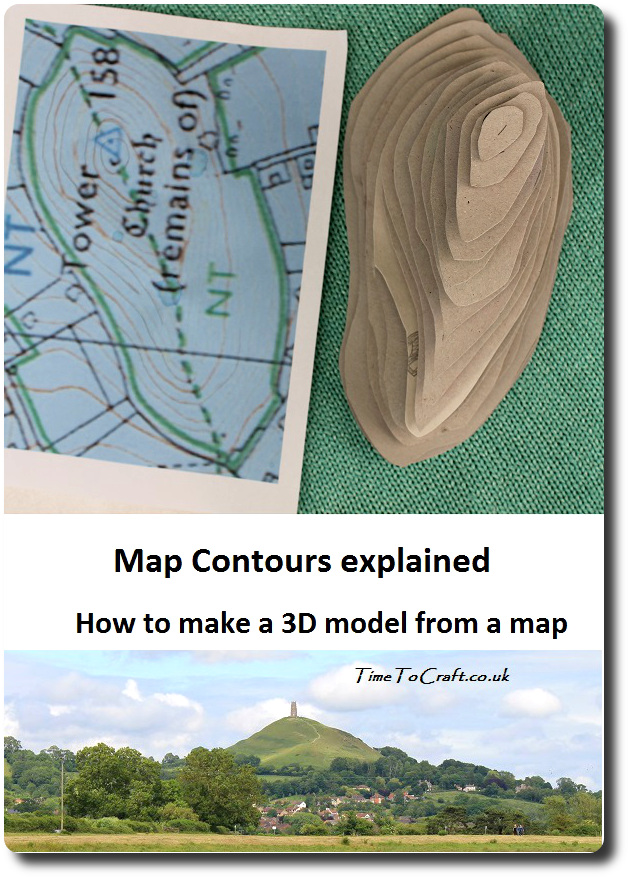
So I came up with a plan. One to make sure he truly understood map contours. I chose a set of map contour lines that would fit completely on a piece of A4 paper. Preferably one that he would recognize and we could turn them into a 3d model. I chose Glastonbury Tor. It was ideal. A hill surrounded by flatter land. It stands out in the Somerset Levels landscape. Plus it’s a landmark we often use in our local travels, so the Boy knows it well.
Here’s how we made a 3D model from a map
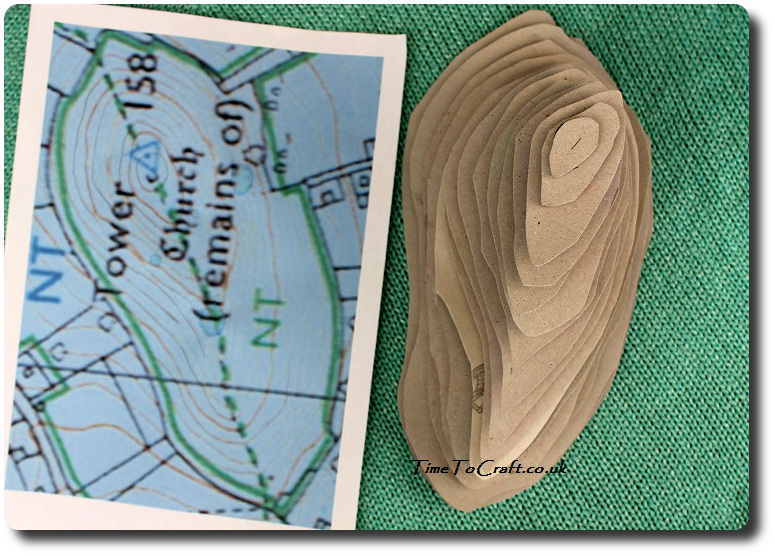
Step 1. Photocopy part of a map and scale up one part of it that will be your model. We used 1:25,000 map and scaled it by 10.
Step 2. Using blue-tack, we temporarily fixed the map, face-up, to a piece of cardboard. Cut all the way round the contour line nearest the edge.
Step 3. Remove the middle part of the map and fix it to another piece of cardboard and repeat step 2 and 3 until all the contour lines have been cut around.
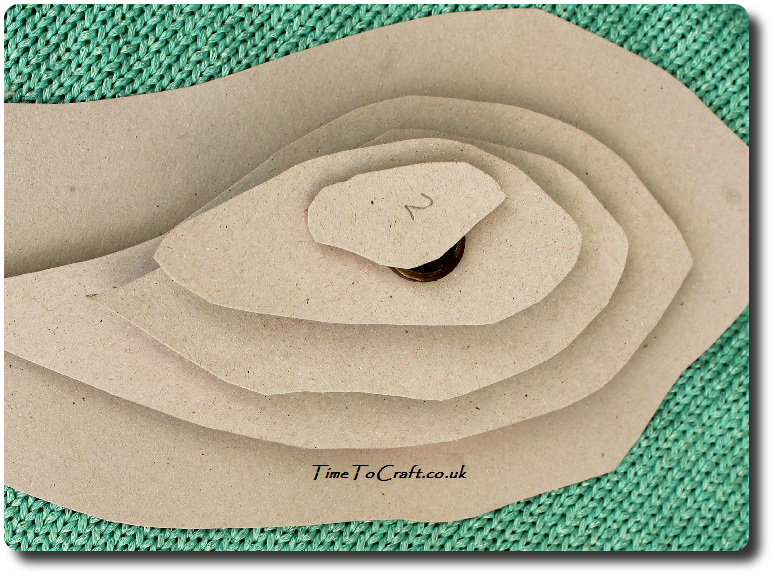
Step 4. You should have a pile of cardboard map sections, increasing in size. Number them now, before they have a chance to get out of order. Make sure they are flat.
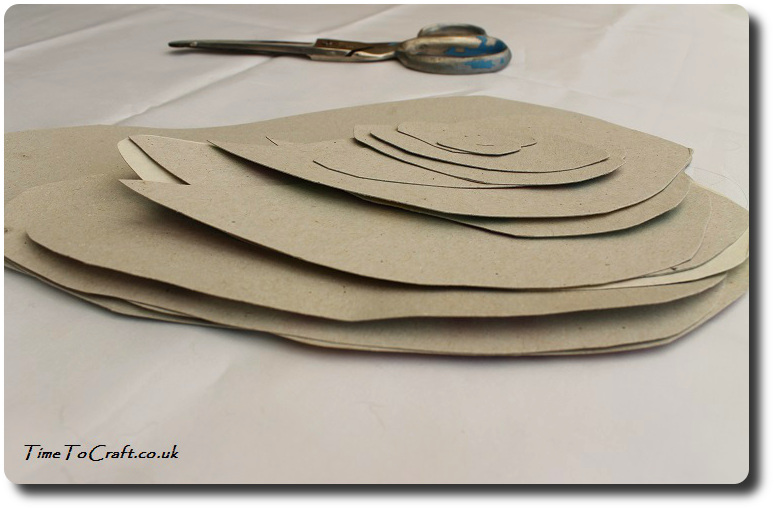
Note: You don’t have to be too precise, it’s up to you. If it is very steep, then contour lines run into each other and can become difficult to separate when you are cutting. This is not meant to be a perfect scale model, just a way to introduce contours.
Assembling the map contour lines model
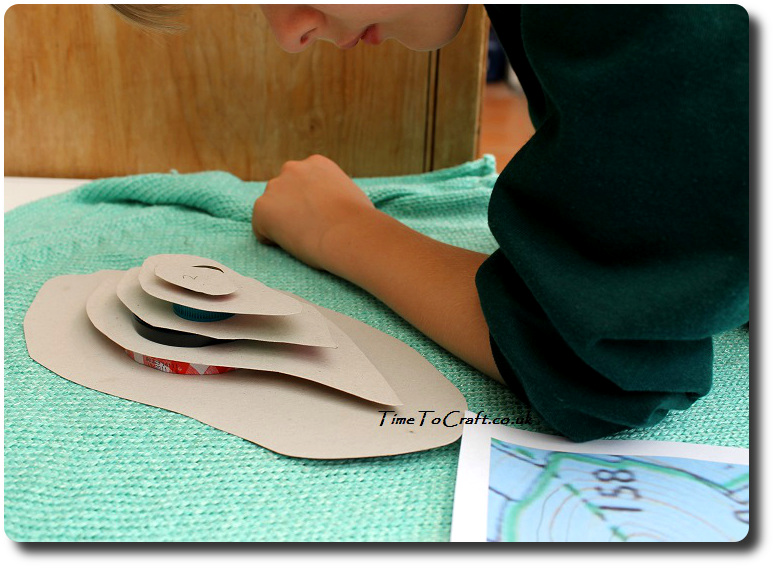
Step 5. Check the height between each of the contour lines on the map. On our map it was 5 metres. I roughly worked out that the scale we had made, we could space our different map layers by 1cm. Youngest was sent scurrying around the house, with a ruler, to locate suitable spacers. We found jam jar lids and bottle cap were just about right.
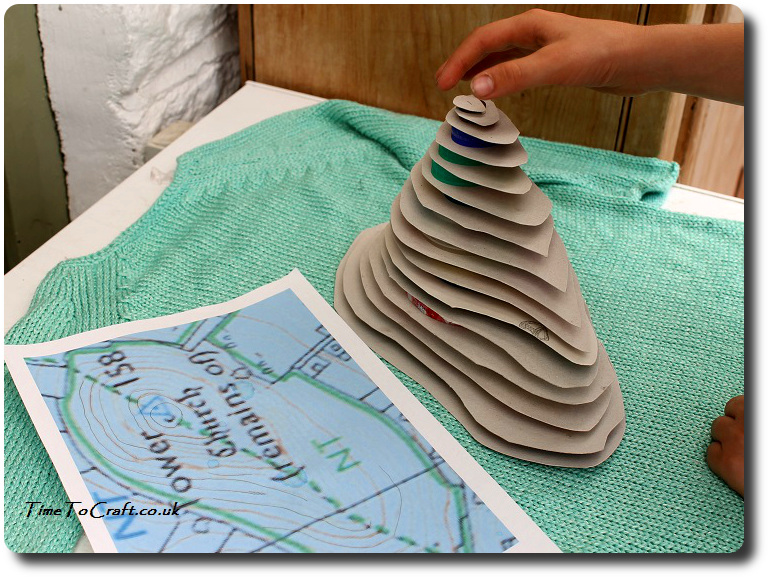 Step 6: Build up the map layers with a spacer in between each one. (The Tor doesn’t look quite so tall in real life, so I think our calculations or measuring may be slightly too generous, but the Boy didn’t mind. He got the idea)
3d model complete!
Extension Learning:
» Looking down on top, we saw how the contours of the model resembled the printed map.
 » We took out layers and left every third one. The hill has now lower, but it was also less steep. So we compared it to the top five layers of the original model. Same height, but one was steeper than the other.
 » We looked from on top to see how the contour lines were now spaced further apart.
»The Boy asked how would we know if it was going up hill or down. We looked back at the real map and saw the numbers on the contour lines. The numbers decreased as they went down hill and increased as we went up hill.
I do love a project that starts with a question. I have a feeling that next time we go walking, the Boy is going to be a lot more interested in the map.
What a great idea. I’m a map addict, none of this new fangled GPS stuff for me. Which is ironic really as I’m pretty rubbish at map reading!
I hope it brought the map to life for him. At least he’ll be able to answer the question about what the lines on the map mean.