
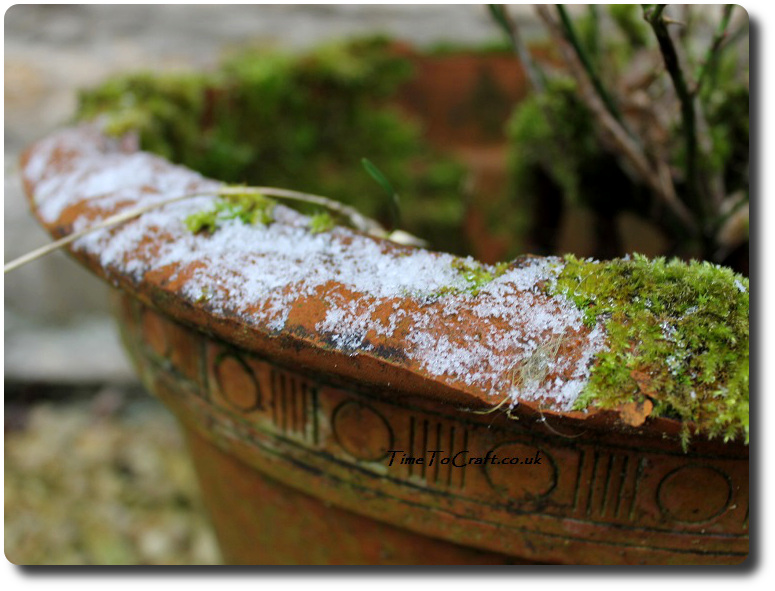
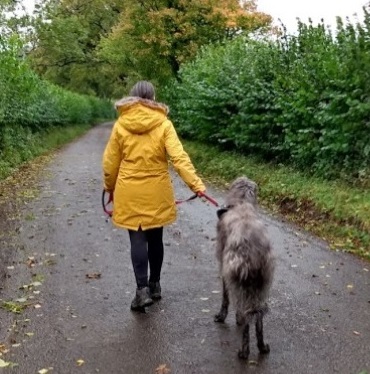
 We needed an easy, creative activity today. We had snow, but not enough to entertain anyone more than 5 minutes outside. Just finger nipping cold, nose chilling wet. I don’t wish to sound greedy, but can someone send us enough to make a snowman next time, please?
After a very short time, everyone retreated inside. Queue activity to head off the requests for screen time.
Making bookmarks
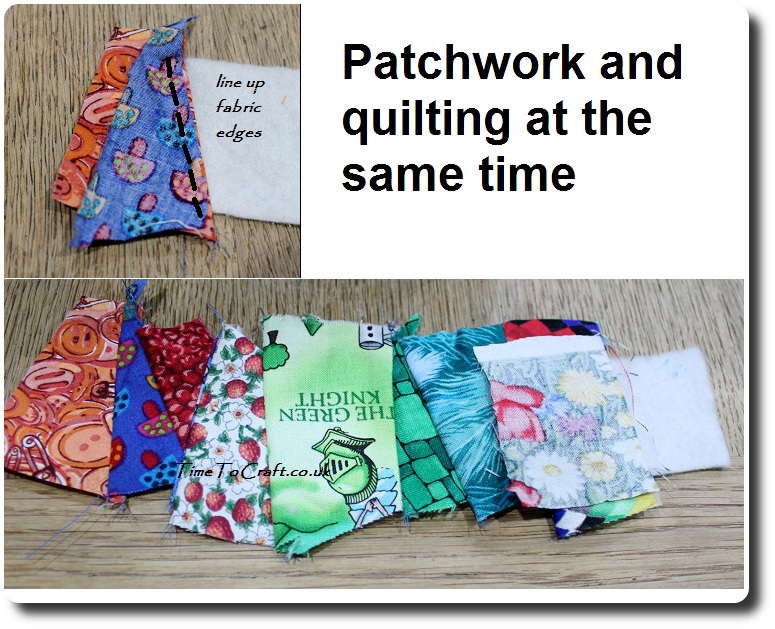
I love making patchwork bookmarks. It uses up teeny, tiny scraps of fabric, which I cannot bring myself to throw away. Also, there is no right or wrong with it, which makes a perfect choice as a beginner project or one for children to do, or, to be honest, anyone who likes making fun, pretty things. As long as the scraps overlap each other, and more than cover the piece of felt, practically anything goes. I like to quilt as I go and this is a brilliant way to practise the technique.
This is how we do it.
 You need:
a bundle of little scraps of fabric
a strip of felt, cut 20cm x 5cm (8″ x 2″) approx
a piece of fabric 21cm x 6cm (8.5″ x 2.5″ ) for the back
small piece of ribbon
thread
sewing equipment (scissors, sewing machine, pins, knitting needle, tape measure or ruler)
Each scrap of fabric needs to have straight edges to keep this project on the easy side. They also need to be at least 1cm wider then the narrow width of the felt piece.
How to make a fabric bookmark
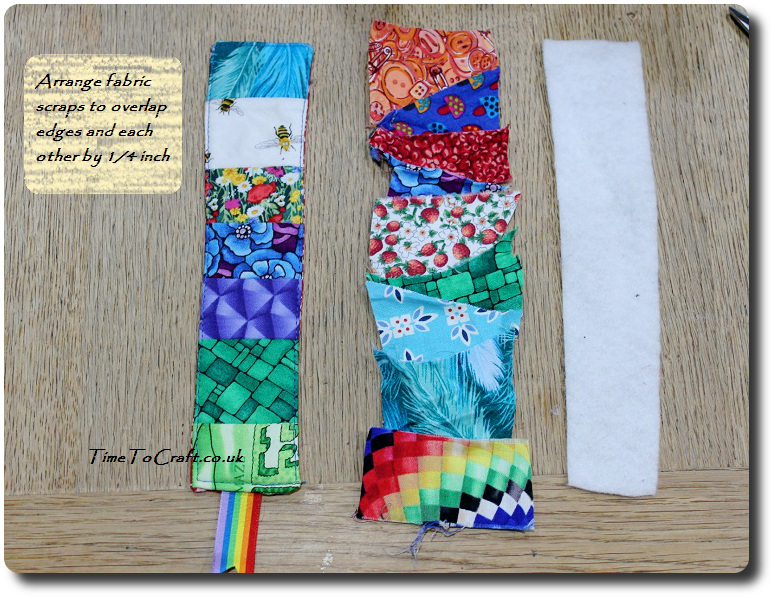
Step 1: Arrange pieces of scrap fabric on top of the felt strip, but make sure the edges of the scraps are overlapping each other by at least 0.5cm (1/4″).
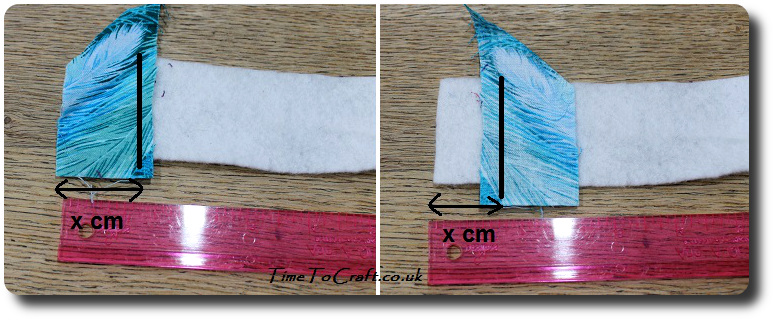
Step 2: Take the first scrap of fabric. Right side up, position it overlapping the top of the felt by 0.5cm. Now this part is slightly tricky. Channel your inner school maths self and think rotations. Imagine a sewing line on the scrap (big, bold, arrowless lines in pictures above), 0.5cm from the edge. Now, flip the scrap on to the wrong side, along the imagined line. That wasn’t so bad, was it?
Step 3: Sew along the sewing line. As shown, above left. Fold the fabric up, so the right side is now showing, and iron the fabric in the direction of the arrow in the picture, above right.
 It’s plain sailing from now on.
Step 3: Putting right sides together, and lining up the edges, sew the next scrap to the first one. As shown above, you are sewing through the felt as well. Flip the second scrap down and iron it.
Repeat for all the other fabrics, until the felt is covered, then overlap the lower edge of the felt by at least 1cm (0.5″)
Adding the backing
Step 4: Putting right sides together, line up the bookmark with the backing fabric. Sew around 3 edges, just catching the edge of the felt. Leave the bottom short edge open.
(Tip: at the start and the end of stitching, sew back over your stitches. This stops them pulling apart when you do step 6.) Step 5: Clip the excess fabric around the edge and clip the corners.
Step 6: Turn the bookmark the right way round, by pulling it through the open edge. Use the blunt end of a knitting needle, or a stick, to push the corners into a point. Take care not to push through the corners and make a hole.
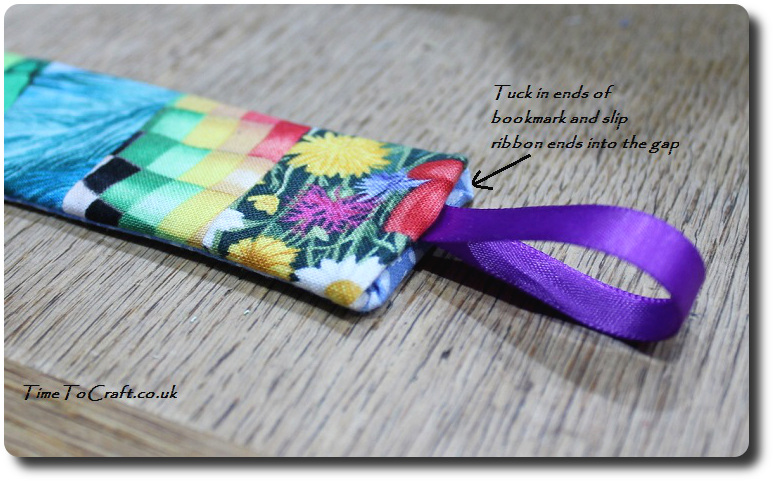
Step 7: Iron the bookmark and tuck the unstitched ends back into the opening, as if to hide them. Push the ends of the ribbon in too. Pin in place.
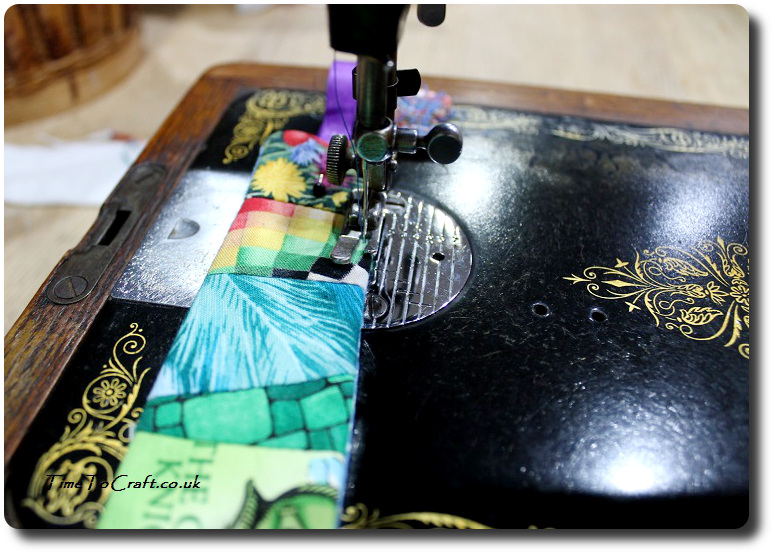
Step 8: Topstitch along each of the four edges of the bookmarkster030.hosting.ovh.net.
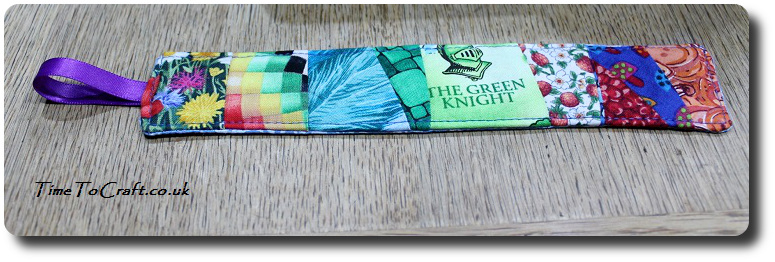
Step 9: Iron, then slip bookmark into your current book.
Sewing with children
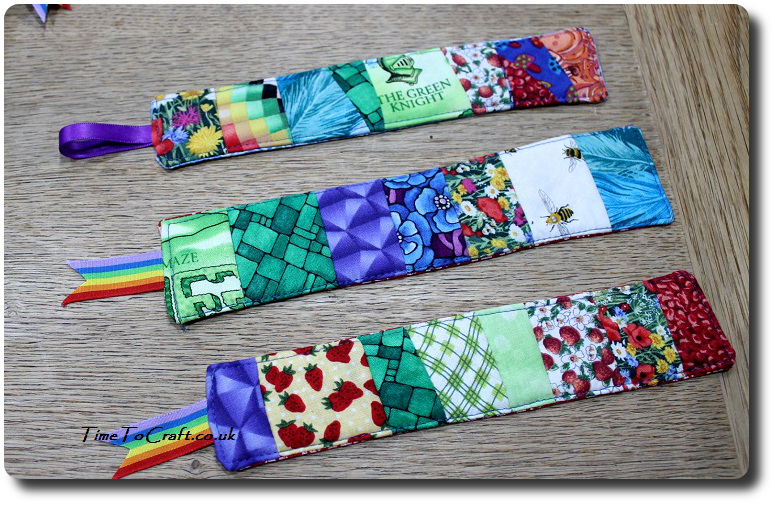
All three children (9, 12 and 14) loved this activity. They really got into the selection stage, and the chance to use my old sewing machine. The one aspect of this activity you can guarantee is, that no two bookmarks will ever look quite the same. Colour, fabric and wonkiness just add to the charm.
These make great gifts, especially when giving a book and I think they would work well as a Father’s day present or teachers thank you gift. So easy to make that several can be made in one afternoon.
Hope you have fun making one. I’m off to check if it’s snowing again. Fingers crossed.
Linking up to Sara’s Craft Schooling Sunday and Fiona’s #Trash2Treasure

These are Lovely! (and now added to the great ideas to try list Thank you!)
We have a thick layer of snow on the roof in the yard and also in mounds on the side of the road ..which is making it tricky to get in an out of the side road where we live ..think nice wide road now squeezed down to single lane take your turn and try not to back into the snow berm when reversing out…
But having probably induced snow envy I have to point out ..that it’s very rare for us to ever get ‘snow man’ snow we have the powder variety that doesn’t stick together….when the girls were young my oh bravely tried mixing snow and water to make a snowman ..it sort of worked lol
Thanks Val, but watch out. Once you’ve made one, you’ll end up making lots.
Now I come to think of it, I don’t think I’ve ever seen a snowman photo on your blog. Apologies if I am wrong. Assumed that the novelty quickly wore off. Bit like puddle jumping over here. Only so many puddles you need to jump into. And it’s OK. You’re not alone in inciting snow envy. I’m not sure if I’d want quite as much snow as you have each year, for quite so long. I can only think that it becomes easier to drive in it, the more experienced you become, but that is the part I would least like. No idea how you carry on, as near to normal, with all that snow.
The irony. When we do get snow, it’s usually the right kind of snowman snow!
What a lovely idea to do with your children on a home day. We had a little snow too, but not enough to do much with either. We are also wishing for proper snowman making snow….winter’s not out yet. Fingers crossed! Thanks for sharing
Fingers crossed indeed! It would be fun. I wonder if we will get more this year.
Oh this is really lovely
Thank you, Becky.
I love these. I’m not sure I’d trust my little ones here with sewing the fabric though. I might give it a go mixing fabric and duck tape colours to avoid the sewing stage. I’ll link back to here if I do it and it works!
Thank you for sharing on #Trash2Treasure
What a great idea. The duck tape would add to the patchwork theme. Sewing with lots of little ones is challenging. I know. I’ve done it. The tape may be just the answer. I do think making a bookmark with any little ones will help to encourage reading. They can’t resist using them straight away.
I’m definitely giving it a go, I like the multi texture idea of the fabric and tape too
Yes, I think you are right. Sort of change in texture that is irresistible to touch.